


Price: $7.50+
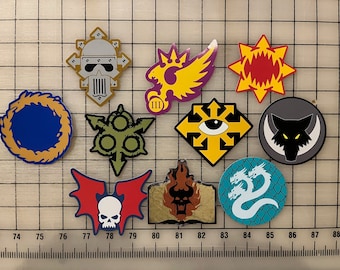
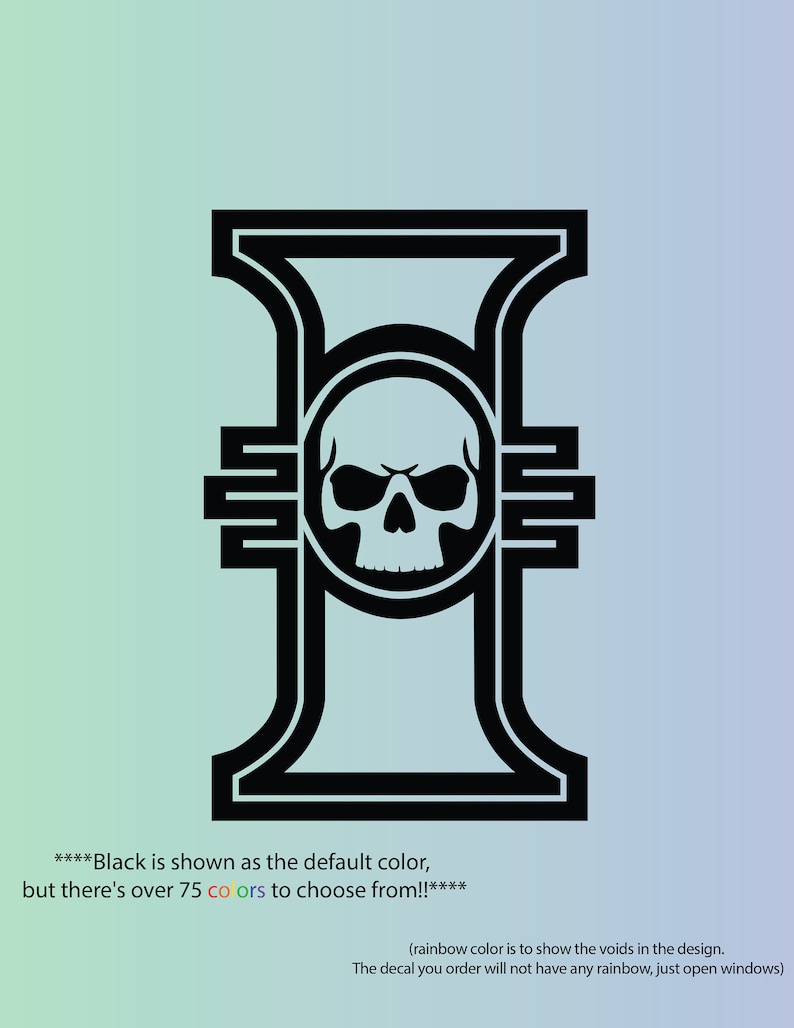
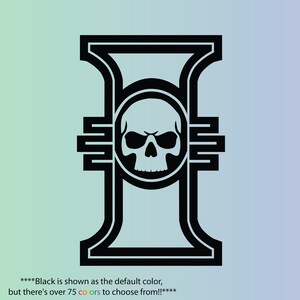
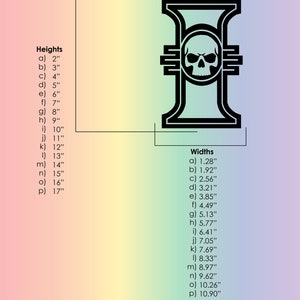
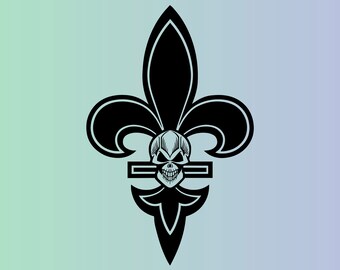
Warhammer 40k - Cryptos - Inquisition Skull Decal
Your order should arrive by this date if you buy today. To calculate an estimated delivery date you can count on, we look at things like the carrier's latest transit times, the seller's processing time and shipping history, and where the order is shipping to and from.
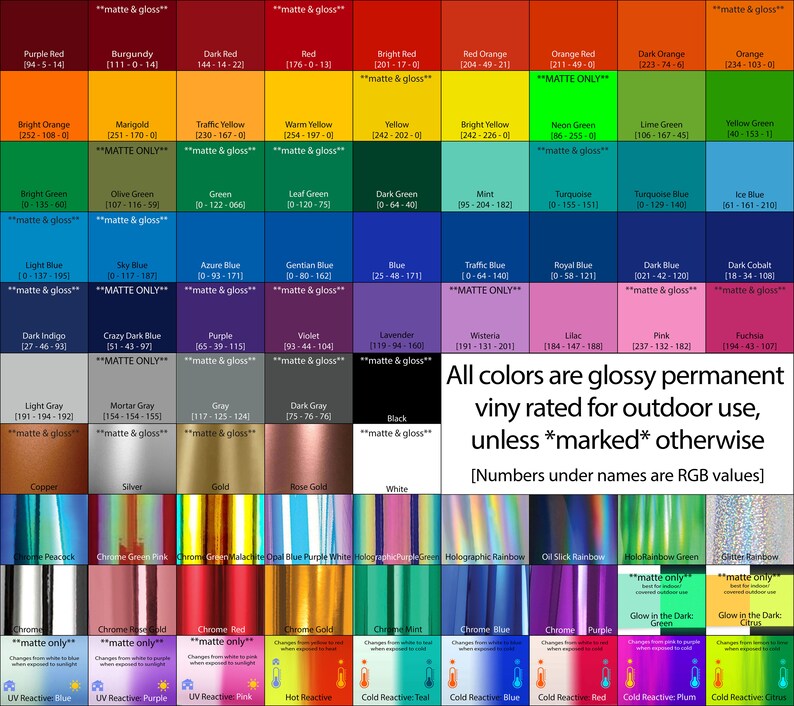
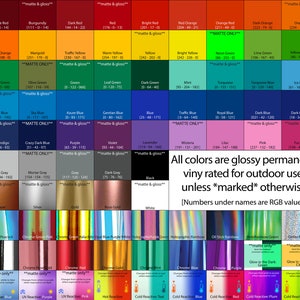
Please type in your color choice here.
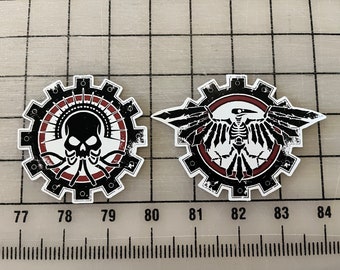
(second image shows colors available)
If you spoke with me about customizations, mention them here.
**Any and all custom requests must be discussed with me PRIOR to ordering**
Color choice:
You can only make an offer when buying a single item
-
Order today to get by May 15-17
Your order should arrive by this date if you buy today. To calculate an estimated delivery date you can count on, we look at things like the carrier's latest transit times, the seller's processing time and shipping history, and where the order is shipping to and from.
-
Returns & exchanges not accepted
But please contact me if you have problems with your order
-
Free shipping
There was a problem calculating your shipping. Please try again.
Etsy Purchase Protection
Shop confidently on Etsy knowing if something goes wrong with an order, we've got your back for all eligible purchases —
see program terms

615 reviews
5 out of 5 starsIncredible quality, items arrived securely in heavy card stock and were in perfect condition. Came with a nice little note and a few little bonus pieces from testing stages. I will 100% be ordering again and recommending to friends at my local game shop.
Michael May 4, 2024
Incredible quality, items arrived securely in heavy card stock and were in perfect condition. Came with a nice little note and a few little bonus pieces from testing stages. I will 100% be ordering again and recommending to friends at my local game shop.
Michael May 4, 2024
Absolutely perfect and packaged very creatively and well. thanks
Pat Apr 25, 2024
Great quality product and customer service, will purchase more in the future. 👍🏻
Benjamin Mar 28, 2024
Photos from reviews
![Warhammer 40k - Grey Knights Decal [Simplified]](https://i.etsystatic.com/18305042/r/il/13a892/4489663914/il_340x270.4489663914_77h2.jpg)